How To Add Weather Forecast in Notion (With Free Widgets)
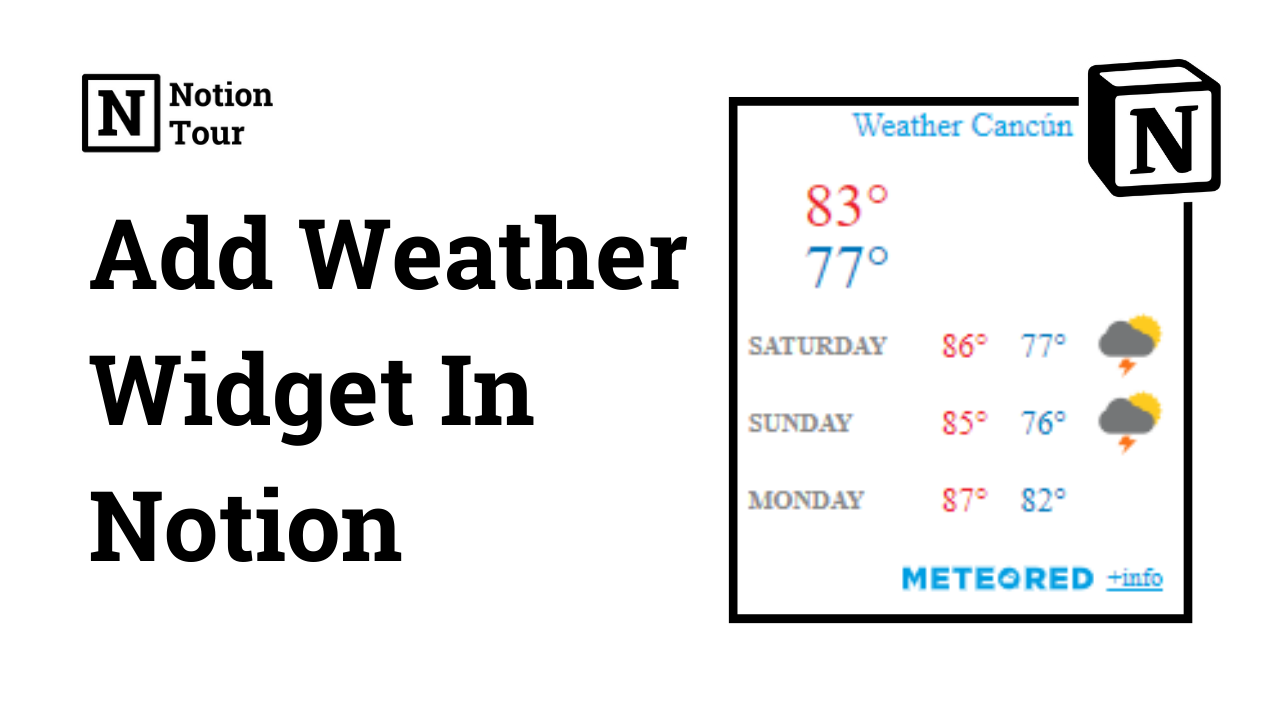
It’s important to add a weather widget in the notion when you are out of town or when you are on vacation.
When you plan your work for days, you can plan according to weather conditions.
Adding widgets to can add some aesthetics to the notion pages.
In this post, we will look at how to add weather widgets step by step.
Here are other widgets & their guides:
- 55+ Notion widgets (Mega list)
- Best Pomodoro timer notion widget
- Best Notion clock widgets
- Best Notion weather widgets
- Best Notion calendar widgets
- Best Notion quote widgets
- Best Notion calculator widgets
- Best Notion countdown widgets
Guide to add the widgets:
- How to add Pomodoro timer widgets
- How to add clock widgets
- How to add calendar widgets
- How to add quote widgets
- How to add calculator widgets
- How to add countdown widgets
1. Select a Weather widget you like
First, choose a weather widget of your choice. You will find many widgets online that you can try.
I have mentioned the 6 best notion weather widgets which you can look at and try one of them.
For this tutorial purpose, I will take Indify’s weather widget.
First, you need to visit the Indify website and sign in to an account.
2. Customize the design of the Weather widget
After you sign up for an account, look for the weather widget and customize it.
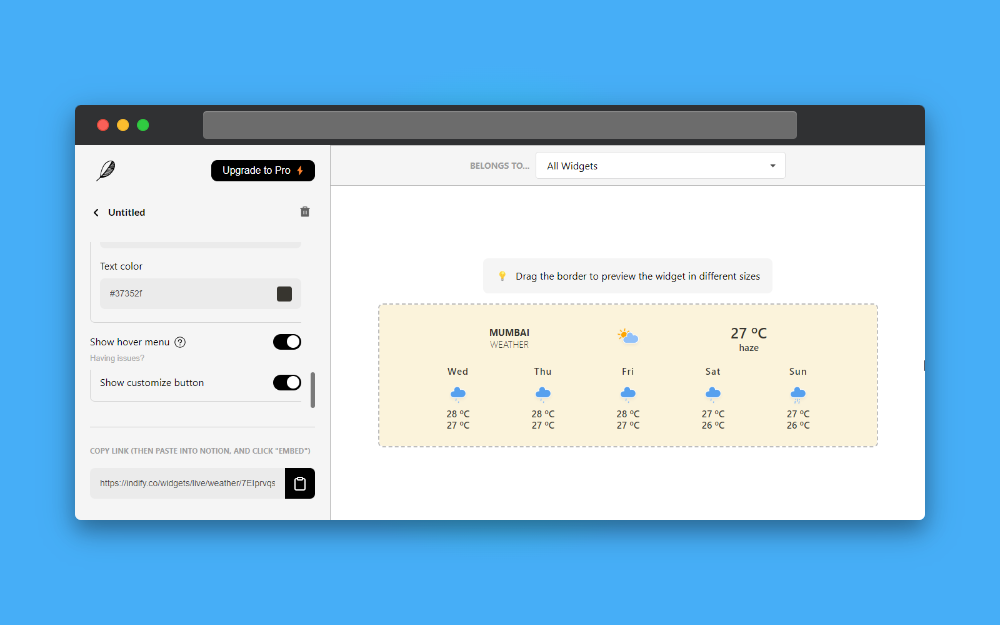
You can customize with no. of days you want to show, the unit you want to show, different locations, background color, text color, and much more. Customize with your aesthetics and your choice.
3. Copy the embedded URL
After customizing your weather widget, you can find a copy link option in the widget, and copy the embed link. This link contains information about the widget customization you have made.
In this case, you will find the URL in the bottom-left corner, and copy the URL.
4. Open the Notion page you want to add
After you have copied the URL, open the Notion page you want to add the widget to or create a new Notion page to add. For this example, we will add a new notion page.
5. Type “/embed” and paste the URL
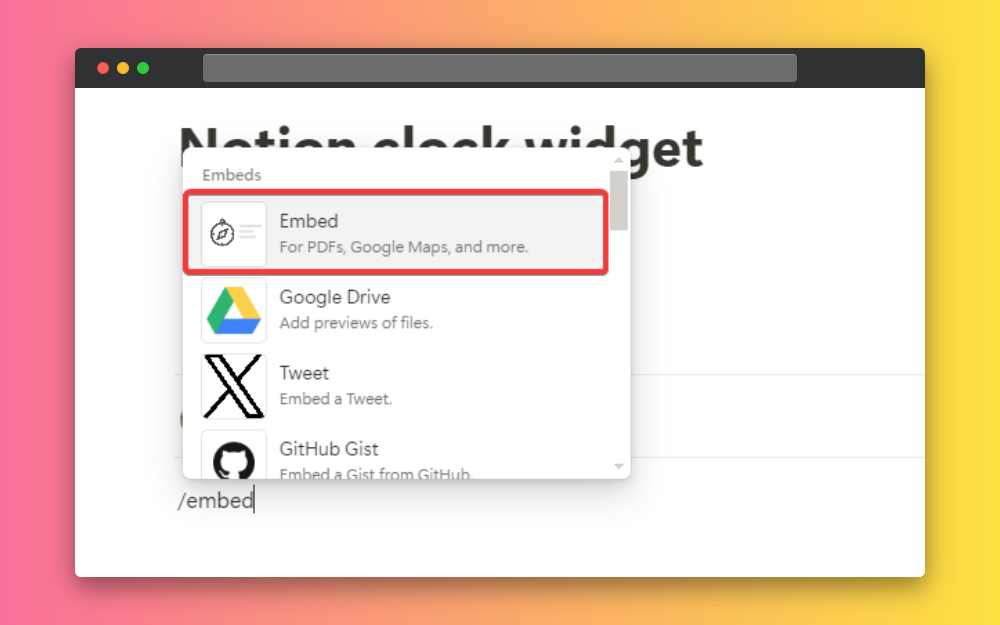
Then type “/embed” and paste the URL you have copied earlier, and click on the ‘embed’ button.

This way, you can add a weather widget to your Notion dashboard, and this widget will help you to look for weather conditions when you need to. It can also add aesthetics to your notion page.
Widgets to Explore
Here are some widgets that you can explore. You can find different widgets in the widget library or the weather widgets post.
Weather Forecast

This is a dark weather widget you can use in your Notion workspace. You can customize according to your choice and get weather information from your notion workspace.
Windy
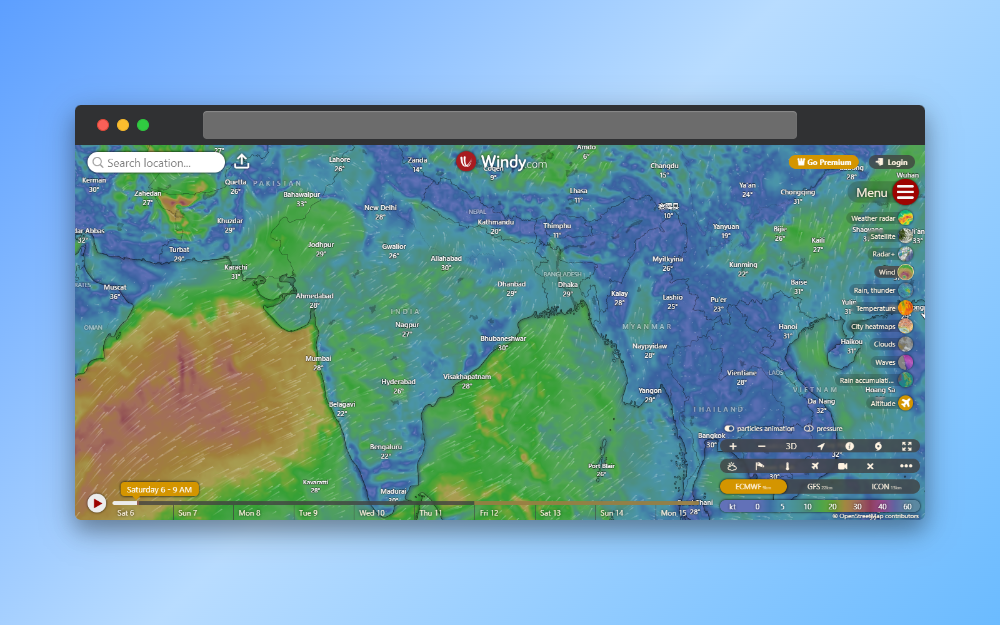
This is a beautiful map-based weather mapping where you can see the weather of your locality. You can embed it in your Notion workspace and see the weather of your location in a live preview.
WeatherWidget.io
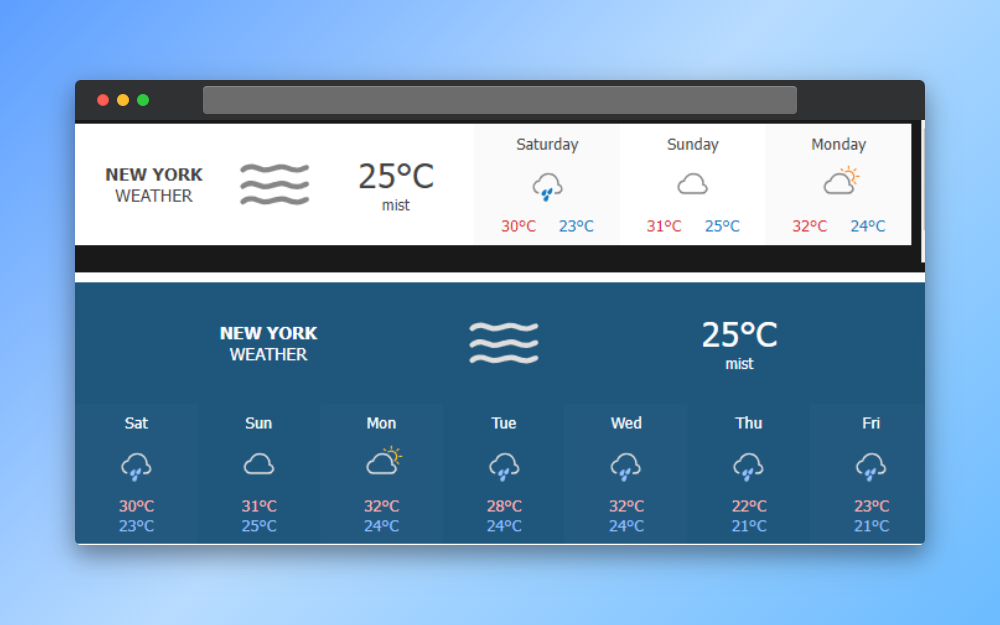
This is a Notion weather widget that you can see a preview of your week’s weather. You can easily customize the options to fit your choice.

