How to Create Tables in Notion

Notion is a great tool for storing data and information. You can store any type of data, and customize them using notion databases and tables.
Notion tables will help you to store your data in a simple manner. They other features that you can use to collaborate with your team on projects.
Here is the step-by-step tutorial on how you can create a table on Notion.
1. Open the page where you want to create a table
First, you need to open the page or create a new page to add a table on your Notion app.
2. Type “/table” and click on the table block
After that type “/table“ and click on the table block to add the table.

3. Drag the table to add rows and columns
After that, you can drag the “+” bar side and down to add rows and columns respectively or you can click on the “+” icon on the corner and drag to add rows and columns accordingly.

4. Set header rows and columns
This option will help you to add a title to the first row and column which will act as a header.
To activate it, you have to click on “options” at the top of your table and click on either or both toggles for the header row and column.

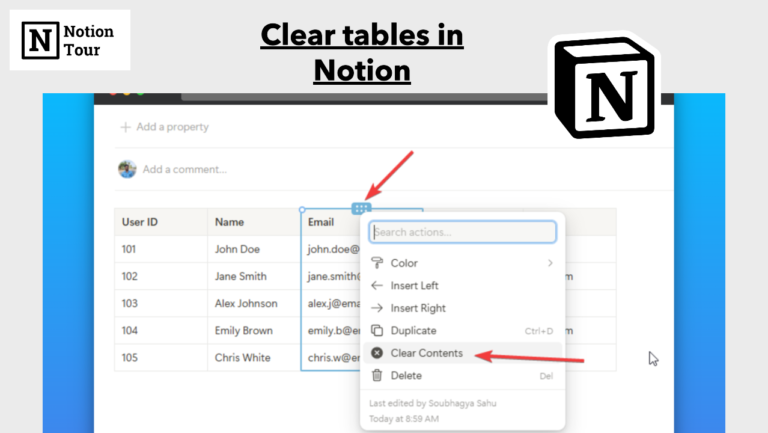
This will allow you to add a simple table to your notion page. You can turn that table into the database and vice versa. You can also add color to your table rows and columns.


